This post contains AFFILIATE linkS. For info on affiliate links, read here.
Here are some of my favorite supplies (and accompanying tips and tricks) to get really nice-looking specimens. They'll change the way your work turns out! Whether you're a beginner or a veteran taxidermist, give these a whirl. I think you'll be satisfied. Click on the photos to be taken to the products.
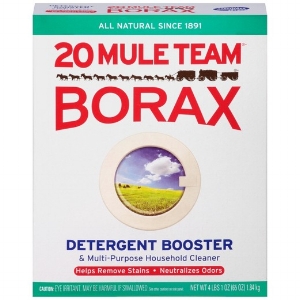
1. I think one of the most important supplies to have in your arsenal is borax. If you're doing a bird taxidermy mount it's a must, but I also use it for small mammal taxidermy as well. Lots of taxidermists swear by tanning their hides but sometimes beginners in taxidermy just want to experiment with other methods. Use it to deter insect activity, slough off fat and fascia, dry the fur of hides, and of course, add to your birds right before mounting so they don't dry out too quickly. Borax can also be used to make slime or for your laundry if you decide taxidermy just isn't your jam!

2. I always use nitrile gloves while doing taxidermy. Vinyl gloves have, in my experience, reacted poorly to some of my preferred taxidermy chemicals, and latex gloves always make my hands smell really disgusting. Plus, the bright color is easy to see when you're skinning around a limb!

3. A good, sharp scalpel with a sturdy handle is a must. From skinning to fleshing and even some of the fine detail work of form-carving, you want a blade that can handle it all. I prefer a #24 scalpel blade, which fits on a #4 handle. The point of the #24 is very sharp and can help you with tasks like skinning around a mouse's eye, but the broad side of the blade is effective on skinning and fleshing much larger animals too.

4. Formalin is a very important chemical when it comes to specimen preservation. Not only can you use it to make wet specimens, you can also inject it into the feet of mammals and birds after mounting to help preserve, dry out, and protect them permanently. Formalin is a buffered formaldehyde solution and should be used and stored very carefully. Please mind the MSDS information.

5. Use a syringe that is large enough to hold a decent amount of liquid, but which is small enough that you can still handle and maneuver it comfortably. I also like to use a 20g veterinary needle so as not to leave very large holes in my specimens.

6. When skinning animals I prefer to dissect joints apart rather than cutting them, but at some points it's just necessary to cut through a bone (like inside of a squirrel's foot, or above a mouse's ankle). For these instances, I prefer a specially designed pair of poultry bone scissors. These come with a lifetime warranty which is well worth it. Make sure you push the bone all the way into the blades so the notch holds them in place when you cut.


7. Looking for a shortcut so you don't have to mess with salting, drying, rehydrating, pickling, and more that goes into traditional tanning? I like Chuck Testa's martini tan recipe - a 50/50 mix of denatured alcohol and gum turpentine. Skin your animal, submerge it in the solution, gently shake it every day for a week, and pull it out to wash it with lukewarm water and BLUE Dawn dish soap before you flesh it. The "martini tan" actually alters the proteins in the skin and fascia to make it REALLY easy to peel the two apart. Proceed with borax on the inside and outside before mounting as usual!
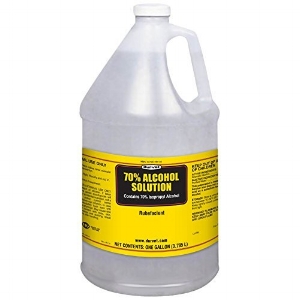
8. If you're doing a dry-mounted mammal project, try soaking your entire hide (yes, the fur too!) in isopropyl alcohol before fleshing it. Use borax to rub in the fur and fluff it up again! After about 15 minutes it will look like a whole new animal. I also like to use this alcohol as my permanent storage solutions for fluid-preserved specimens.

9. Crock-pots are great for cleaning bones, but only if you know what you're doing. It's nice to have a dedicated crock-pot for taxidermy to avoid cross-contamination in your kitchen. Always choose one with a multitude of heat settings so you can put it on the lowest heat setting. You should leave your skulls to soak in the crock-pot for only a day or so, gently cooking the meat off the bone on a very low setting with a soapy solution (soap and water) in the pot. Overcooking can lead to greasy skulls.

10. Use a set of wax carving tools to scrape the cooked meat off of your skulls. You can also use these tools for tucking eyelids and lips, manipulating clay, and more.

11. Use a 3% hydrogen peroxide solution to whiten your skulls once you've cleaned any muscular remnants off of them. Check out this blog post for other bone-cleaning tips and tricks!
12. Sewing up tough hides can be a huge pain, but if you use a tri-sided leather needle it pierces right through even the toughest of hides. These needles are SHARP and have three blades on them that can be sharpened. Protect yourself with a thimble and try sewing with artificial sinew when you're working on a squirrel or anything else with a thick skin. There is no photo of these needles, but please trust me - they're a game changer.

13. Chinchilla dust is my favorite way to finish up both birds and mammals before grooming. Your specimens' fur and feathers will be as fluffy as a chinchilla after you give everything a good dip, douse, and shake followed by a nice blow-dry with a regular hair dryer on low or even a blowout from an air compressor.
Good luck and have fun!