As a maker and seller of handmade jewelry and taxidermy for the better part of the last decade, I'm finally on the good end of the learning curve when it comes to finding success selling my work at shows and events. In addition to planning my own trunk shows and handmade markets, I've also been a participant in a fair amount of events.
I'm covering the following:
How to find events to participate in
What to bring to your events, indoors and out
How to set up successfully
How to make sales
How to break down your setup
How to translate visitors into customers
Find An Event
The first thing you need to do is find a show or event to participate in! Without an event, the rest of this advice is pretty useless. I've personally moved around the midwest a fair amount in the last few years, so each time I've moved I have made it a point to connect with makers that either (a) I look up to or (b) whose work is similar to mine in order to find out which events they are vendors at. If you're really shy and don't want to make contact with anyone directly, go ahead and creep on other brands' Instagram accounts for the past year to find out which local events they have participated in.
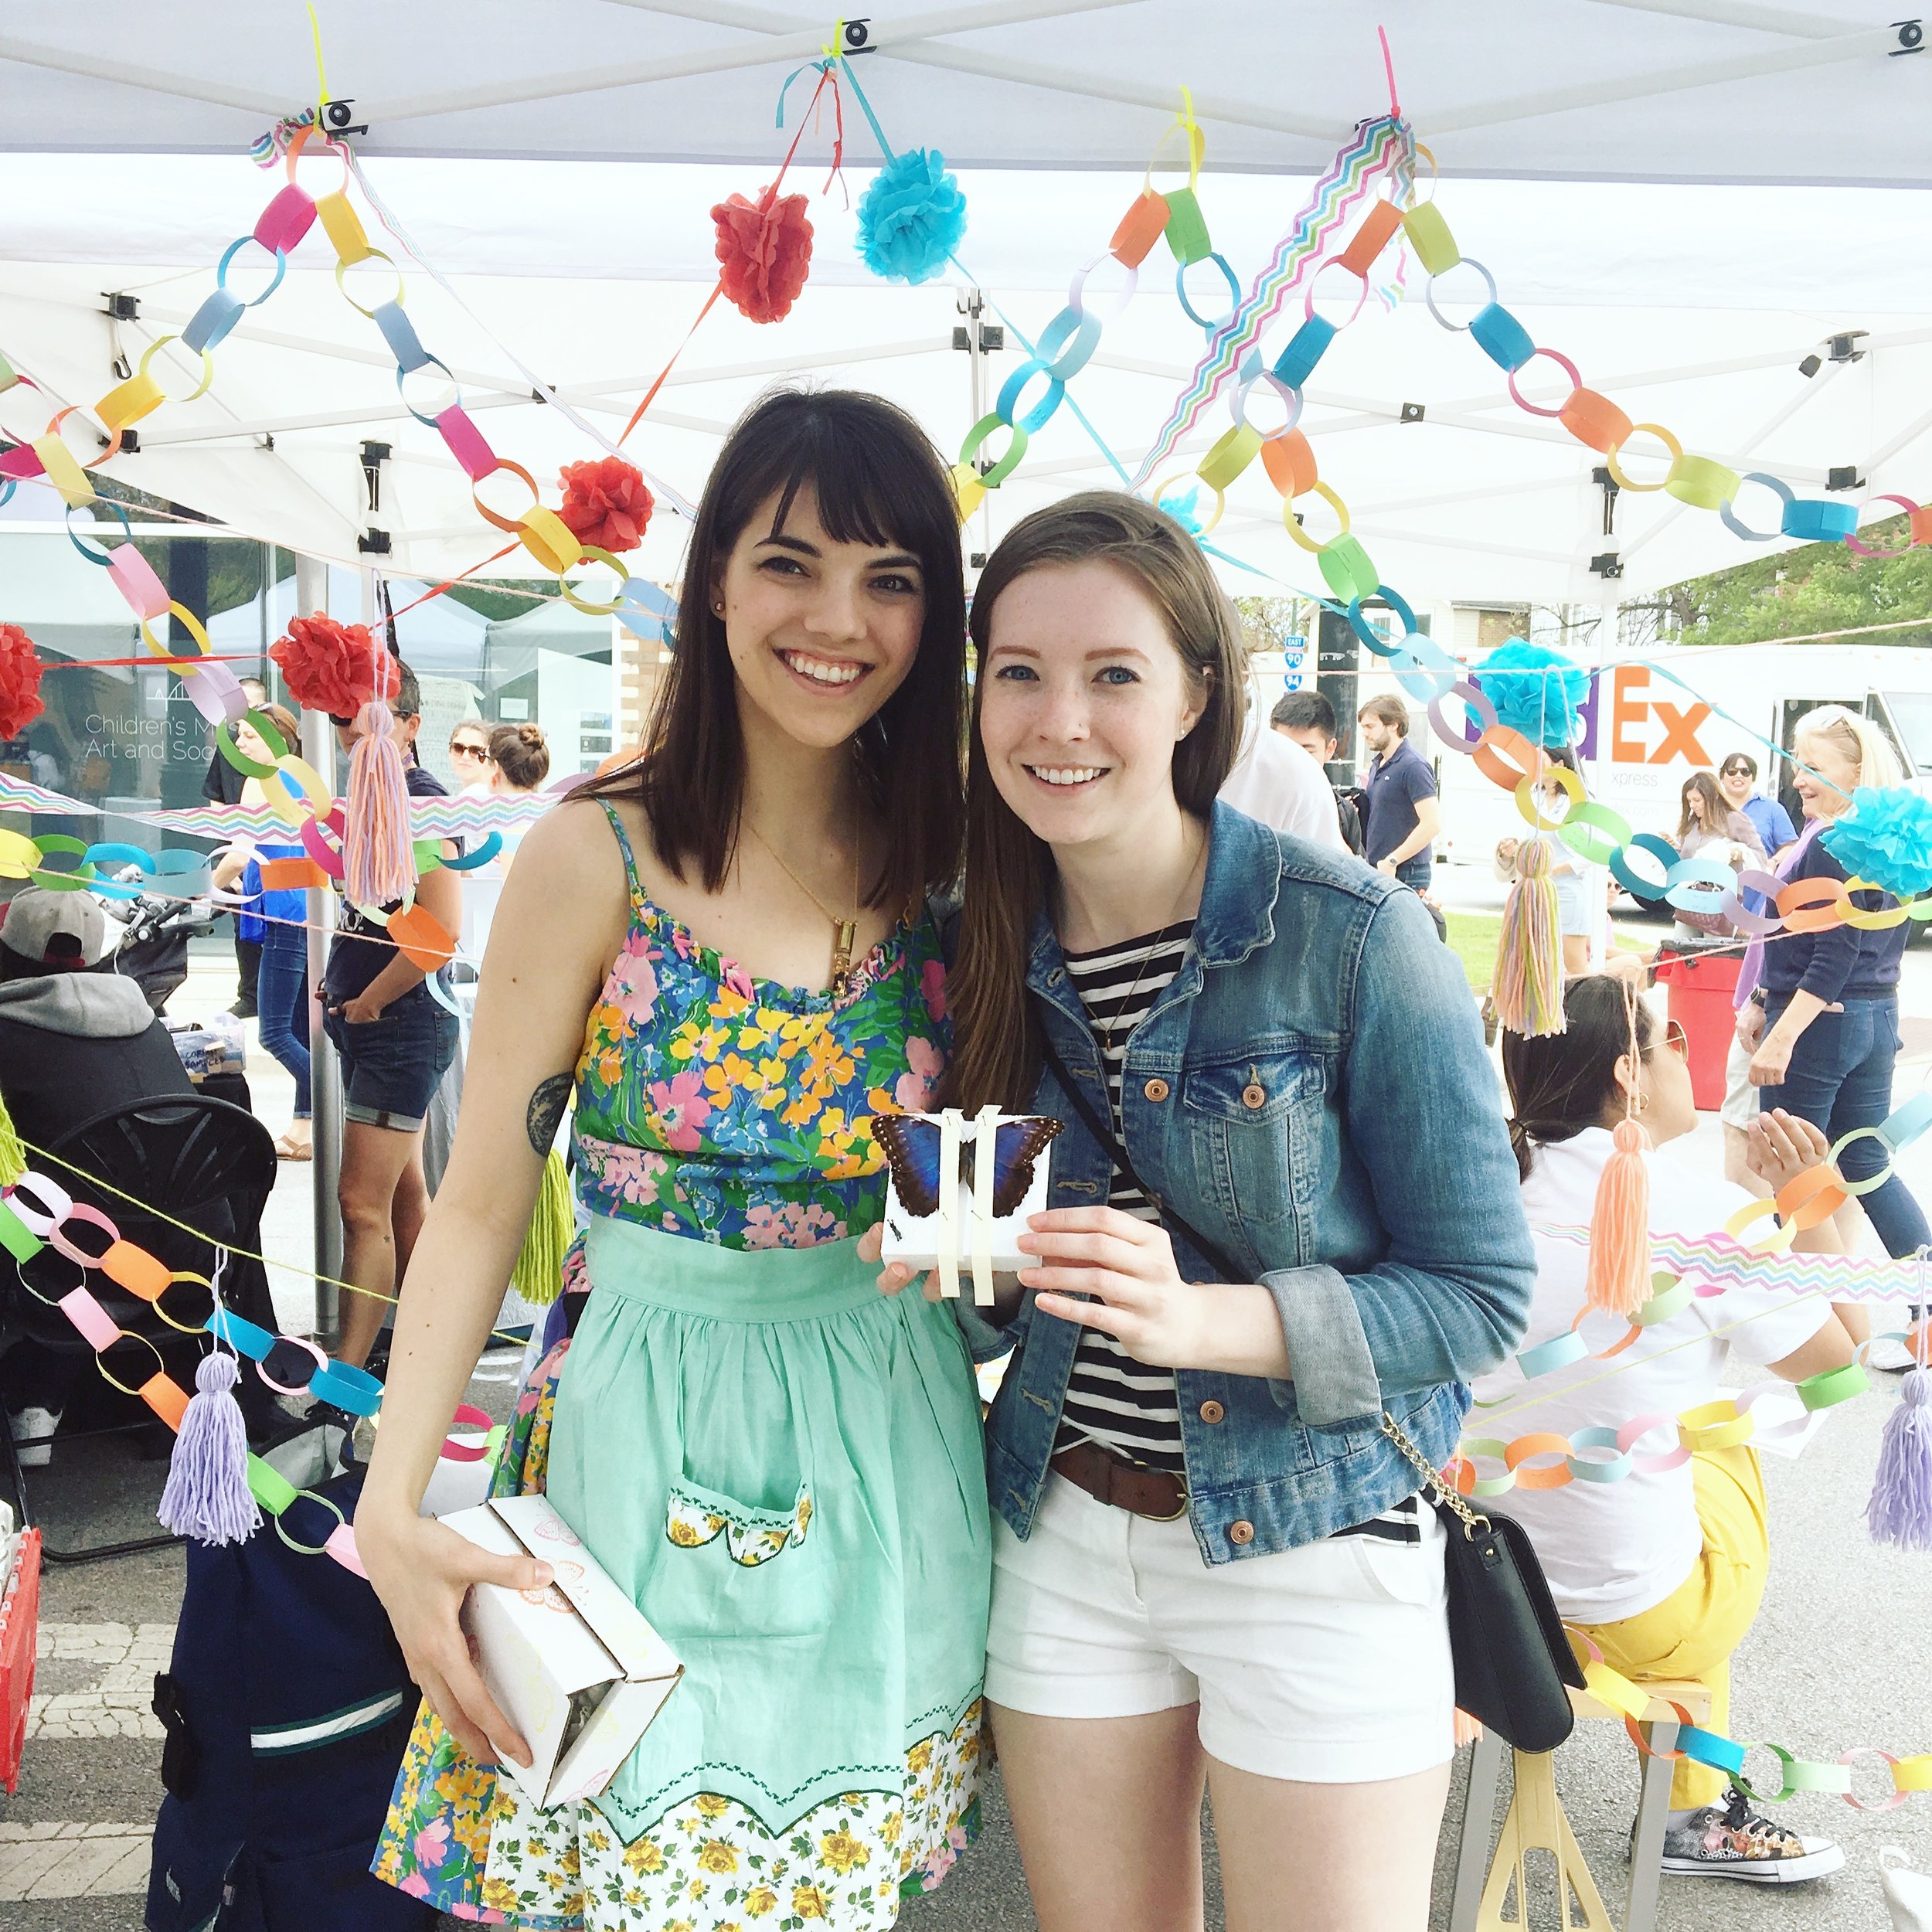
Me with my friend Randi at the Renegade Pop-Up, May 2017
Use your notes app to make a list of events.
Google each event to find out when the deadlines for applications are.
Mark the deadlines on your calendar.
Before applying, ask around and read reviews to see if the shows are worth it.
Make note of how the events are promoted, whether the people running them are respectful of their vendors and behave professionally, and it definitely doesn't hurt to ask past participants if they feel they got their money's worth
When applying, it's also worth noting whether you'll have a table provided or if you need to bring your own, if there is WiFi available for your payment processing device, and if you'll have access to electricity.
If there is an application fee or a booth fee, make sure you can afford to kiss that money goodbye in case something goes awry at the event (like bad weather) because those fees are almost always nonrefundable.
Once you find a show you want to participate in, go for it! Make sure you're honest on your application so that the curators can ensure you won't be directly competing with a very similar vendor.
What To Bring (Intro)
When you get accepted to an event, make notes on all of the things you'll need to bring. If you need to buy anything, it's better to make an investment in higher-quality display items that you'll use for years to come rather than cheap-looking items you'll end up throwing away when you upgrade. I can't stress this enough, having wasted a lot of money on cheap crap and then having to buy the better, more expensive version after the original broke. Here are some of the things I use to set up my displays.
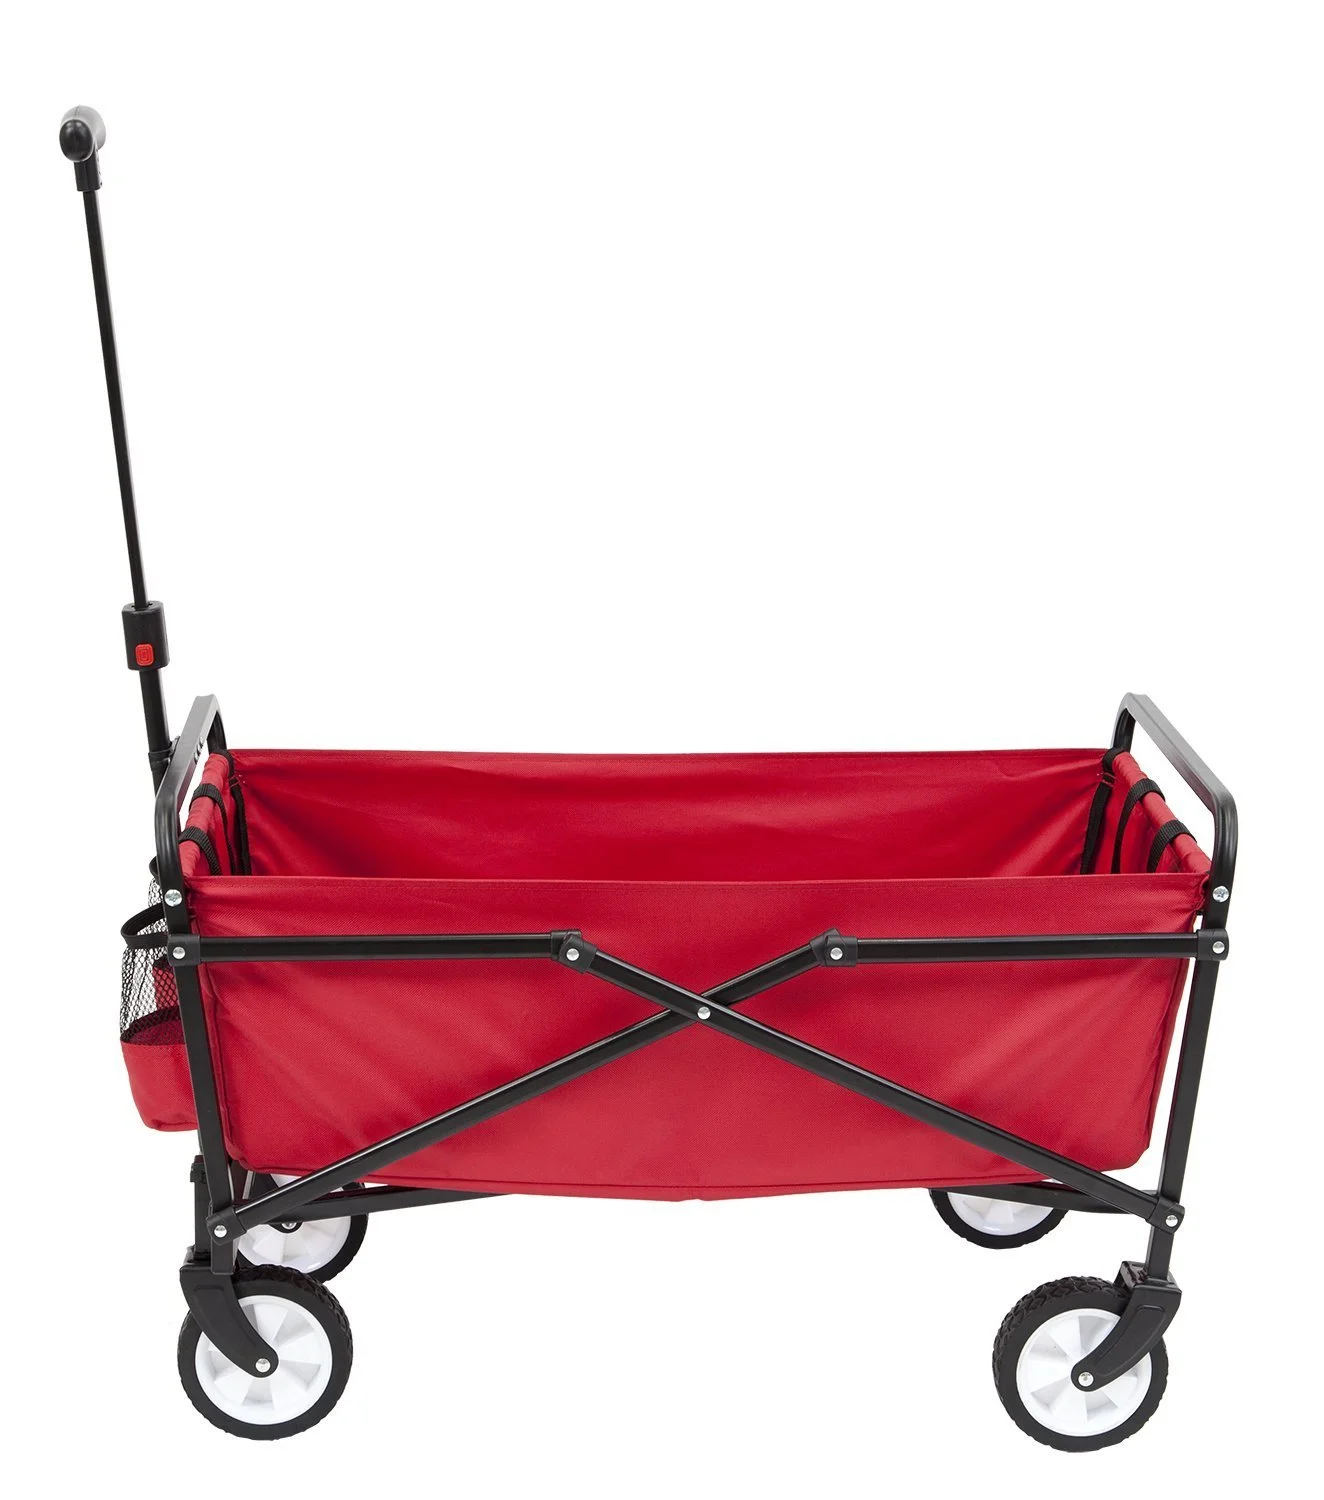
My number-one investment is a folding wagon. This will make your life infinitely easier! It squishes closed and pops back up easily and you will LOVE not having to carry your heavy items and risk jostling them around before you've even gotten to the event.

What To Bring To An Outdoor Event

For outdoor shows, a nice tent with straight legs and side walls that zip closed is a must. This one comes with the side walls and a wheeled case which makes it easy to transport. Don't forget to bring wrap-around sandbag weights to hold your tent down in the wind -- you can even see if the vendors in the booths surrounding yours would like to wrap the legs of your tents together!

Speaking from experience, wrap-around sandbag weights are the way to go. Bricks are NOT a good idea because the last thing you want to do after a long event is carry bulky cinderblocks to your car and then store them until the next time, and it's wasteful to keep buying them and throwing them away for each event you do.
Along the side walls of my tent I like to hang vintage medical posters I'm selling. I recognize that most people don't have very large medical posters to sell, so other things you can do are:

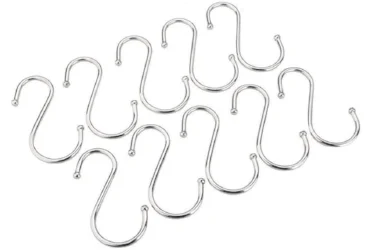
Drill a hole through each end of a 1/4" dowel and hang it horizontally on the wall of your tent. Use metal hooks on the dowel and hang necklaces from it.
Get a banner printed with your business logo and hang it from the back wall of your tent. This gives you much more visibility than putting your banner on the front of your tent or table.
As you can see from my photos, I also like to decorate my booth with streamers and pennant banners during the spring and summer months. If you sell small items like pins, patches, jewelry, or little figurines, it's nice to keep them in a glass case so they don't blow away. Plus, it gives your booth a high-end feel and discourages people from stealing anything that's a little more valuable than other pieces. I use my glass case to house my cast sterling silver and bronze work so that when people want to see something, I get to talk to them about the products and tell them the story behind each piece. You'll see in some photos that I also have wooden boxes (which I painted pastel colors) full of dried beans that I use for displays, but have found over time that they are MUCH better suited for indoor events.

Glass & Brass with Chain
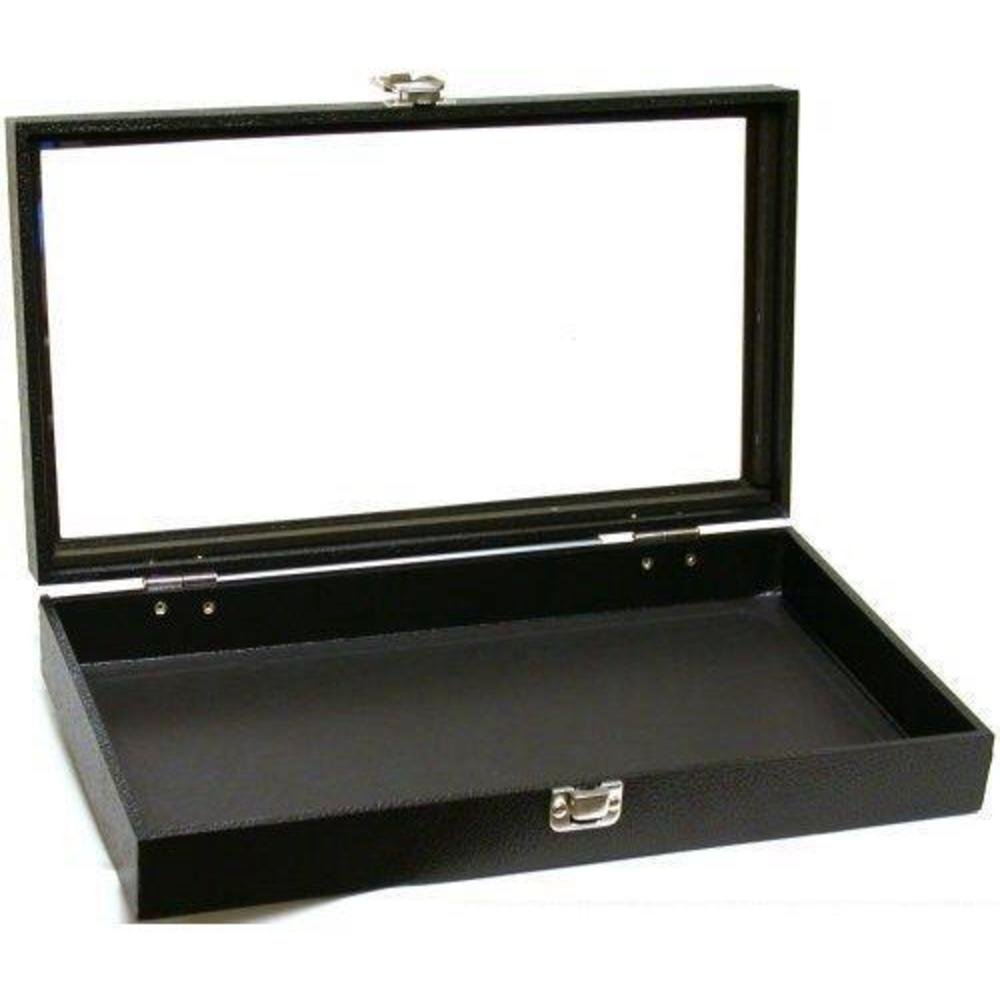
Black with Glass Lid

Locking Horizontal Case

Vertical Locking Case w/ Shelves
I like to line the bottoms of my flat cases with dried black beans, fancy gravel, frosted glass, or glass marbles.
What To Bring To ANY Event (INDOORS & OUT)

If tables are not provided, I like folding tables that fold in half and have a carrying handle or, even better, wheels on the bottom! This will make your load-in a breeze if you have to get your table more than twenty or thirty feet. The last thing you want to do is exhaust yourself setting up and then be completely wiped out during your actual business hours. I have two each of 2x4 and 3x6, which means I can configure my displays any way I want to!


Close-up of the wheels
You will also want a portable chair for every person working - if you bring a friend to help out, get them a chair too because inevitably, everyone will want to take a break at some point!
Cover your table! It's amazing how many shows I've been to where I see vendors without tablecloths, struggling with their sales, wondering why their setup that looks like a garage sale isn't attracting any customers. Pick a neutral color or a color complementary to your branding or items. I chose forest green for my setup because it looks great with all of my copper, brass, gold, bronze, and silver work and I have matching tablecloths for all four of my display tables at large shows.
I draw people into my tent or to my table with fun, informative, and sarcastic letterboard signs.

"Please don't feed the animals. They're already stuffed." I added my Instagram handle to this one because I know people take photos of things like that, and maybe they'll follow me too.
"Don't haggle, it's tacky." Lots of people think this one is funny too! I use it at Renegade and other big events where people try to nickel and dime me. The irony is that if people don't haggle with me and are respectful of my work, I usually offer a discount or a free small item.
A list of the payment methods I accept. This is a no-brainer. Once people see PayPal and Venmo they might spend money they weren't planning to spend before.
"Ask me how to save $25 off your first taxidermy class!" This is how I get people to talk to me about my work! I get them to sign up for my email list and then email them a coupon the day after the event. Works like a charm!
You can customize your signs to fit your business. It's an affordable and clean way to bring in new customers and connect with them. Don't forget stands to hold them up on your table!
Another idea for displays, in the same vein as the beans and glass cases mentioned above, is to purchase some old picture frames from a thrift store, remove the glass and backing, and set the frames on your tablecloth. Fill up the inside of the frame with your beans/gravel/marbles and then nestle your products inside! You can spray-paint the frames any color (or use those cool metallic paints!) to complement your products.

Instead of just laying items out on the tablecloth, elevate your products with special display items like ring stands and necklace holders. Putting small loose items like keychains onto a plate or in a bowl can make your display look much more polished.

I also like the way that a slab of marble or slate looks on the table, but they're heavy and difficult to maneuver. Try covering a thin slab of wood (like plywood) with marbled contact paper instead! Your craft store probably sells a lot.
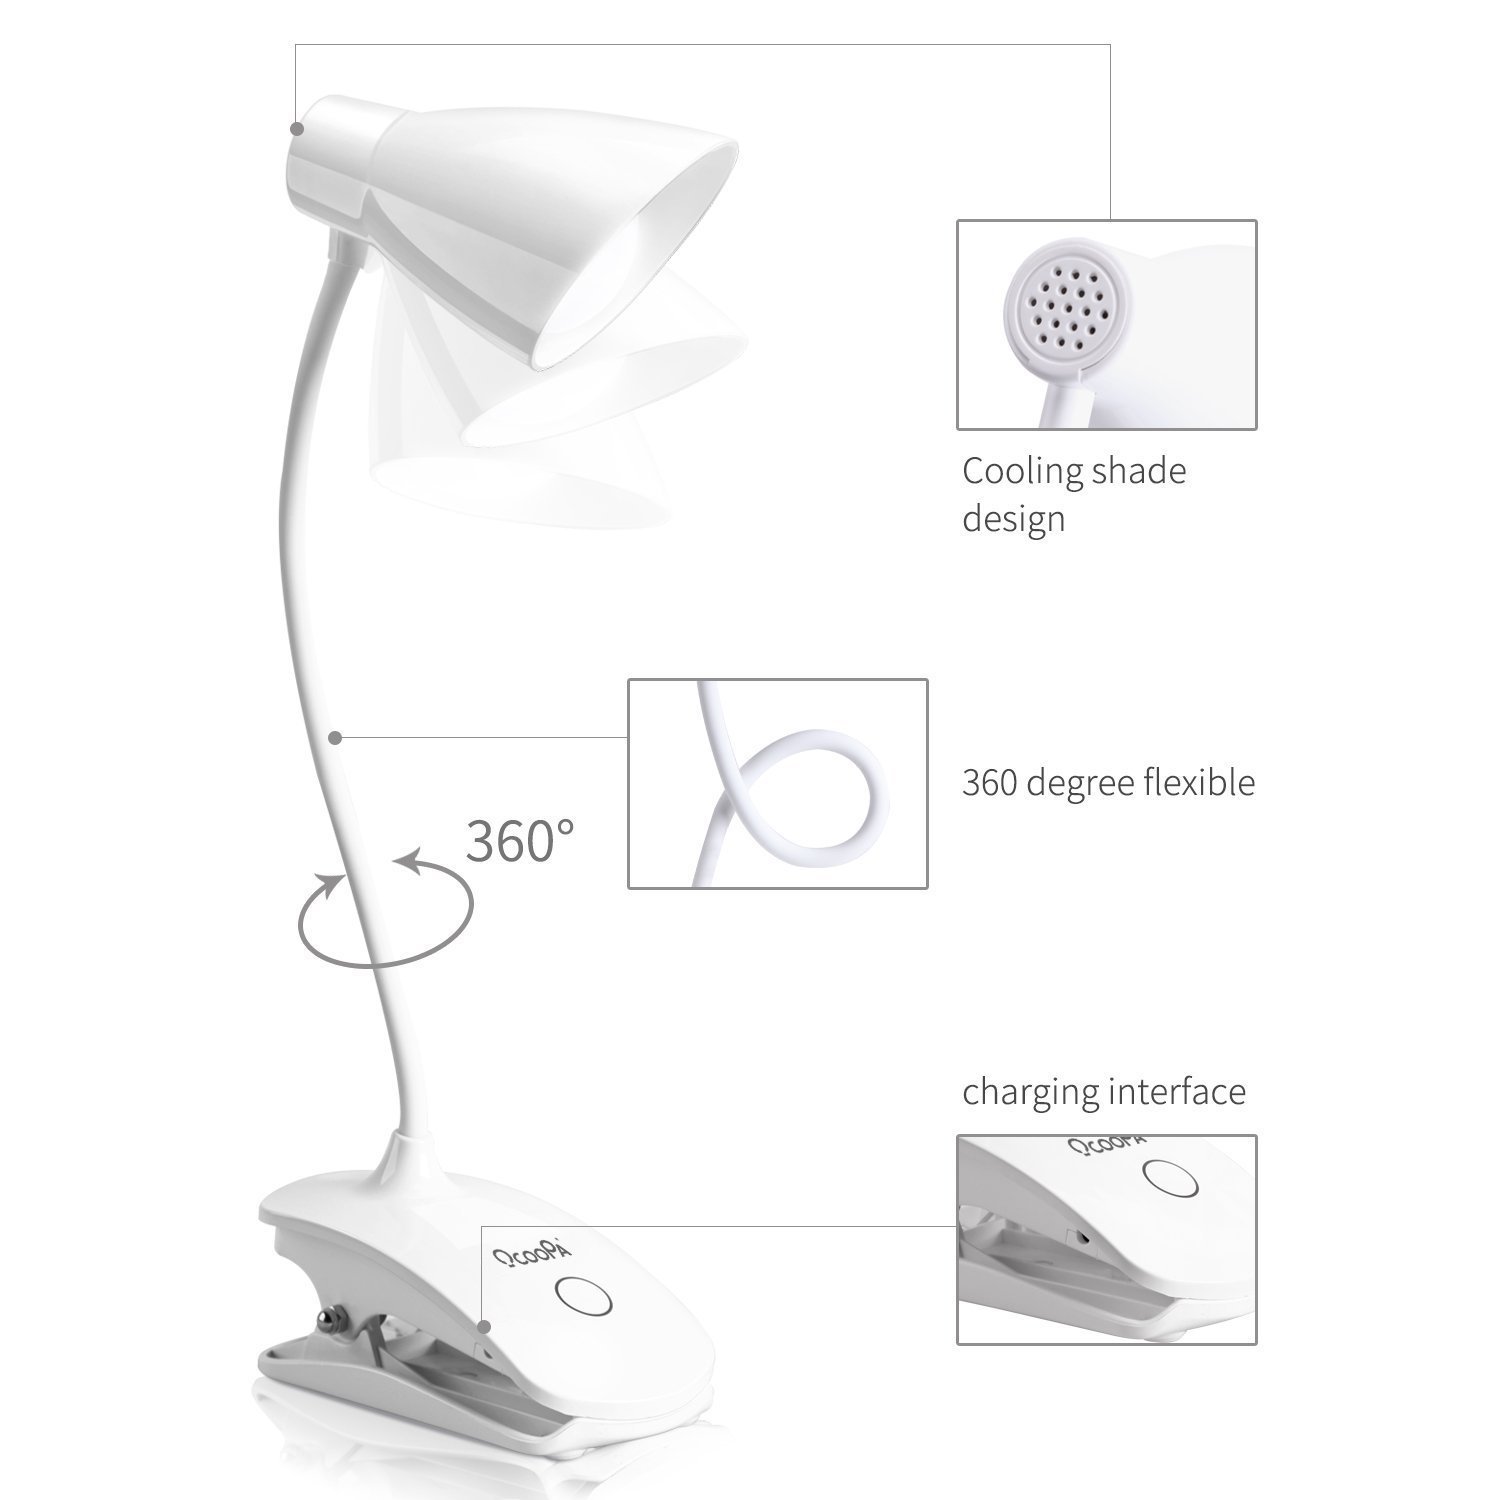
If your event is taking place in a dark space, whether it's at night or not, it's a good idea to bring battery-operated lights. I have three of these, one for each end of a 6' table at bar events and one for the middle. This allows you to avoid the awkwardness (and tripping hazard) of snaking a million extension cords through a dimly-lit bar or venue. Make sure your lamps are fully charged on the day of your event, and if it's a multiple-day event make sure you bring them with you at the end of each day to charge them overnight as well!


Setting Yourself Up For Success

Me with some of my work at Renegade Craft Fair, September 2017
I bring a power bank for each device I need to charge. One for each of my lamps, one for my cell phone, and potentially another for my card reader depending on how much traffic I'm expecting. Again, you want to make sure your power banks are all fully charged on the day of your event, and if it's a multiple-day event make sure you charge them overnight too.
If you didn't catch on by now, you're going to need a way to take payments too! A card reader is a must. PayPal and Square are both good choices. I personally use Square because it's widely used and the design of the reader is pretty sleek. Square is compatible with Apple Pay too. If you use my referral link for Square, you receive free processing for your first $1,000 in sales (and so do I). I also set up accounts with Square Cash, PayPal, and Venmo (which are all listed on one of my signs) so people can pay me any way they want to.
Of course, you're going to want to accept real cash too! I make my prices even dollar amounts so I don't need to have coins on me. I usually bring $100 in small bills - $40 in $1 bills, $40 in $5 bills, and $20 in $10 bills. Usually your first customer or two will pay with larger bills (or exact change) so you don't have to worry about running out of change. Some people like to use a cash box and others like to wear a fanny pack. I personally prefer always having my money with me, like if I need to run to the bathroom, but the choice is yours.
Bring a friend to help you out! They'll keep you company during slow times and if you buy their food and drinks, they'll probably help you load in and load out too. It's REALLY NICE to have a helper when you need to go to the bathroom!

My Renegade Pop-Up decorations, May 2017, taken by Certee
Don't forget these little things either!
Duct tape - if you bring in an extension cord for your electronics, YOU are responsible for making sure nobody trips on it!
Regular clear tape (Scotch tape)
A pair of scissors - don't underestimate how much you'll end up using these
A sharp pocket knife - see above
Zip ties
Extra price tags for when some of yours inevitably fall off and get lost - if you don't sell jewelry try these with a piece of tape on the string
Business cards and a business card holder
A clipboard with a few paper mailing list sign-up sheets and a pen
Extra pens because someone will inevitably steal yours
A snack or two
Gum or mints (nobody likes buying stuff from someone stinky breath!)
Bottled water (a reusable water bottle is convenient and better for the planet)
A pack of tissues
Wear something comfy but professional and bring a jacket if you think it may be windy or cold
The day before your event, make sure you pack up your items in Rubbermaid tubs (go to Target or another big box store to choose which size you like best) with locking lids and load everything into your vehicle and park it somewhere safe. Try the app SpotHero if you don't have a garage of your own. If you don't have a vehicle, rent a mini van! The night before the event, plug in ALL of your devices (including lamps) and ALL of your power banks so they have a full night to charge.
The day of your event, follow the load-in instructions provided by your host. If you are able to park nearby and just use your wagon to wheel things into the area of your event, I can't recommend that enough. Set up your tent first and then focus on tables, tablecloths, and then hanging up anything that needs to be hung afterwards. This is where your zip ties will come in handy.
Merchandise your booth in a way that makes things easy for shoppers, and give yourself an area for your body to go while you stand and talk to people while allowing them to move freely. If you're at an event with just one table, stand behind it and talk to people over the table instead of standing in front of it and blocking shoppers' views. Use the space under your tables to store your bins and back stock.
As items sell, rearrange the merchandise you have left to fill in gaps. People like to shop from full-looking tables.
Making Sales
Customers are the cornerstone of your business. Without people buying your goods, you're just someone who makes stuff that nobody wants. I started making and selling friendship bracelets when I was in middle school. They weren't special, but I would bring them to school in a zip-lock baggie and could sell them to kids in the lunch room for fifty cents each just by sitting down and talking to them.
In a world with more than 1.7 million Etsy shops, chances are that your work isn't 100% unique and it might also not be the most affordable work of that type that your customers can choose to buy. What makes your products special is YOU. It's proven that if a shopper feels a connection to a seller, they're more likely to buy what you're selling.
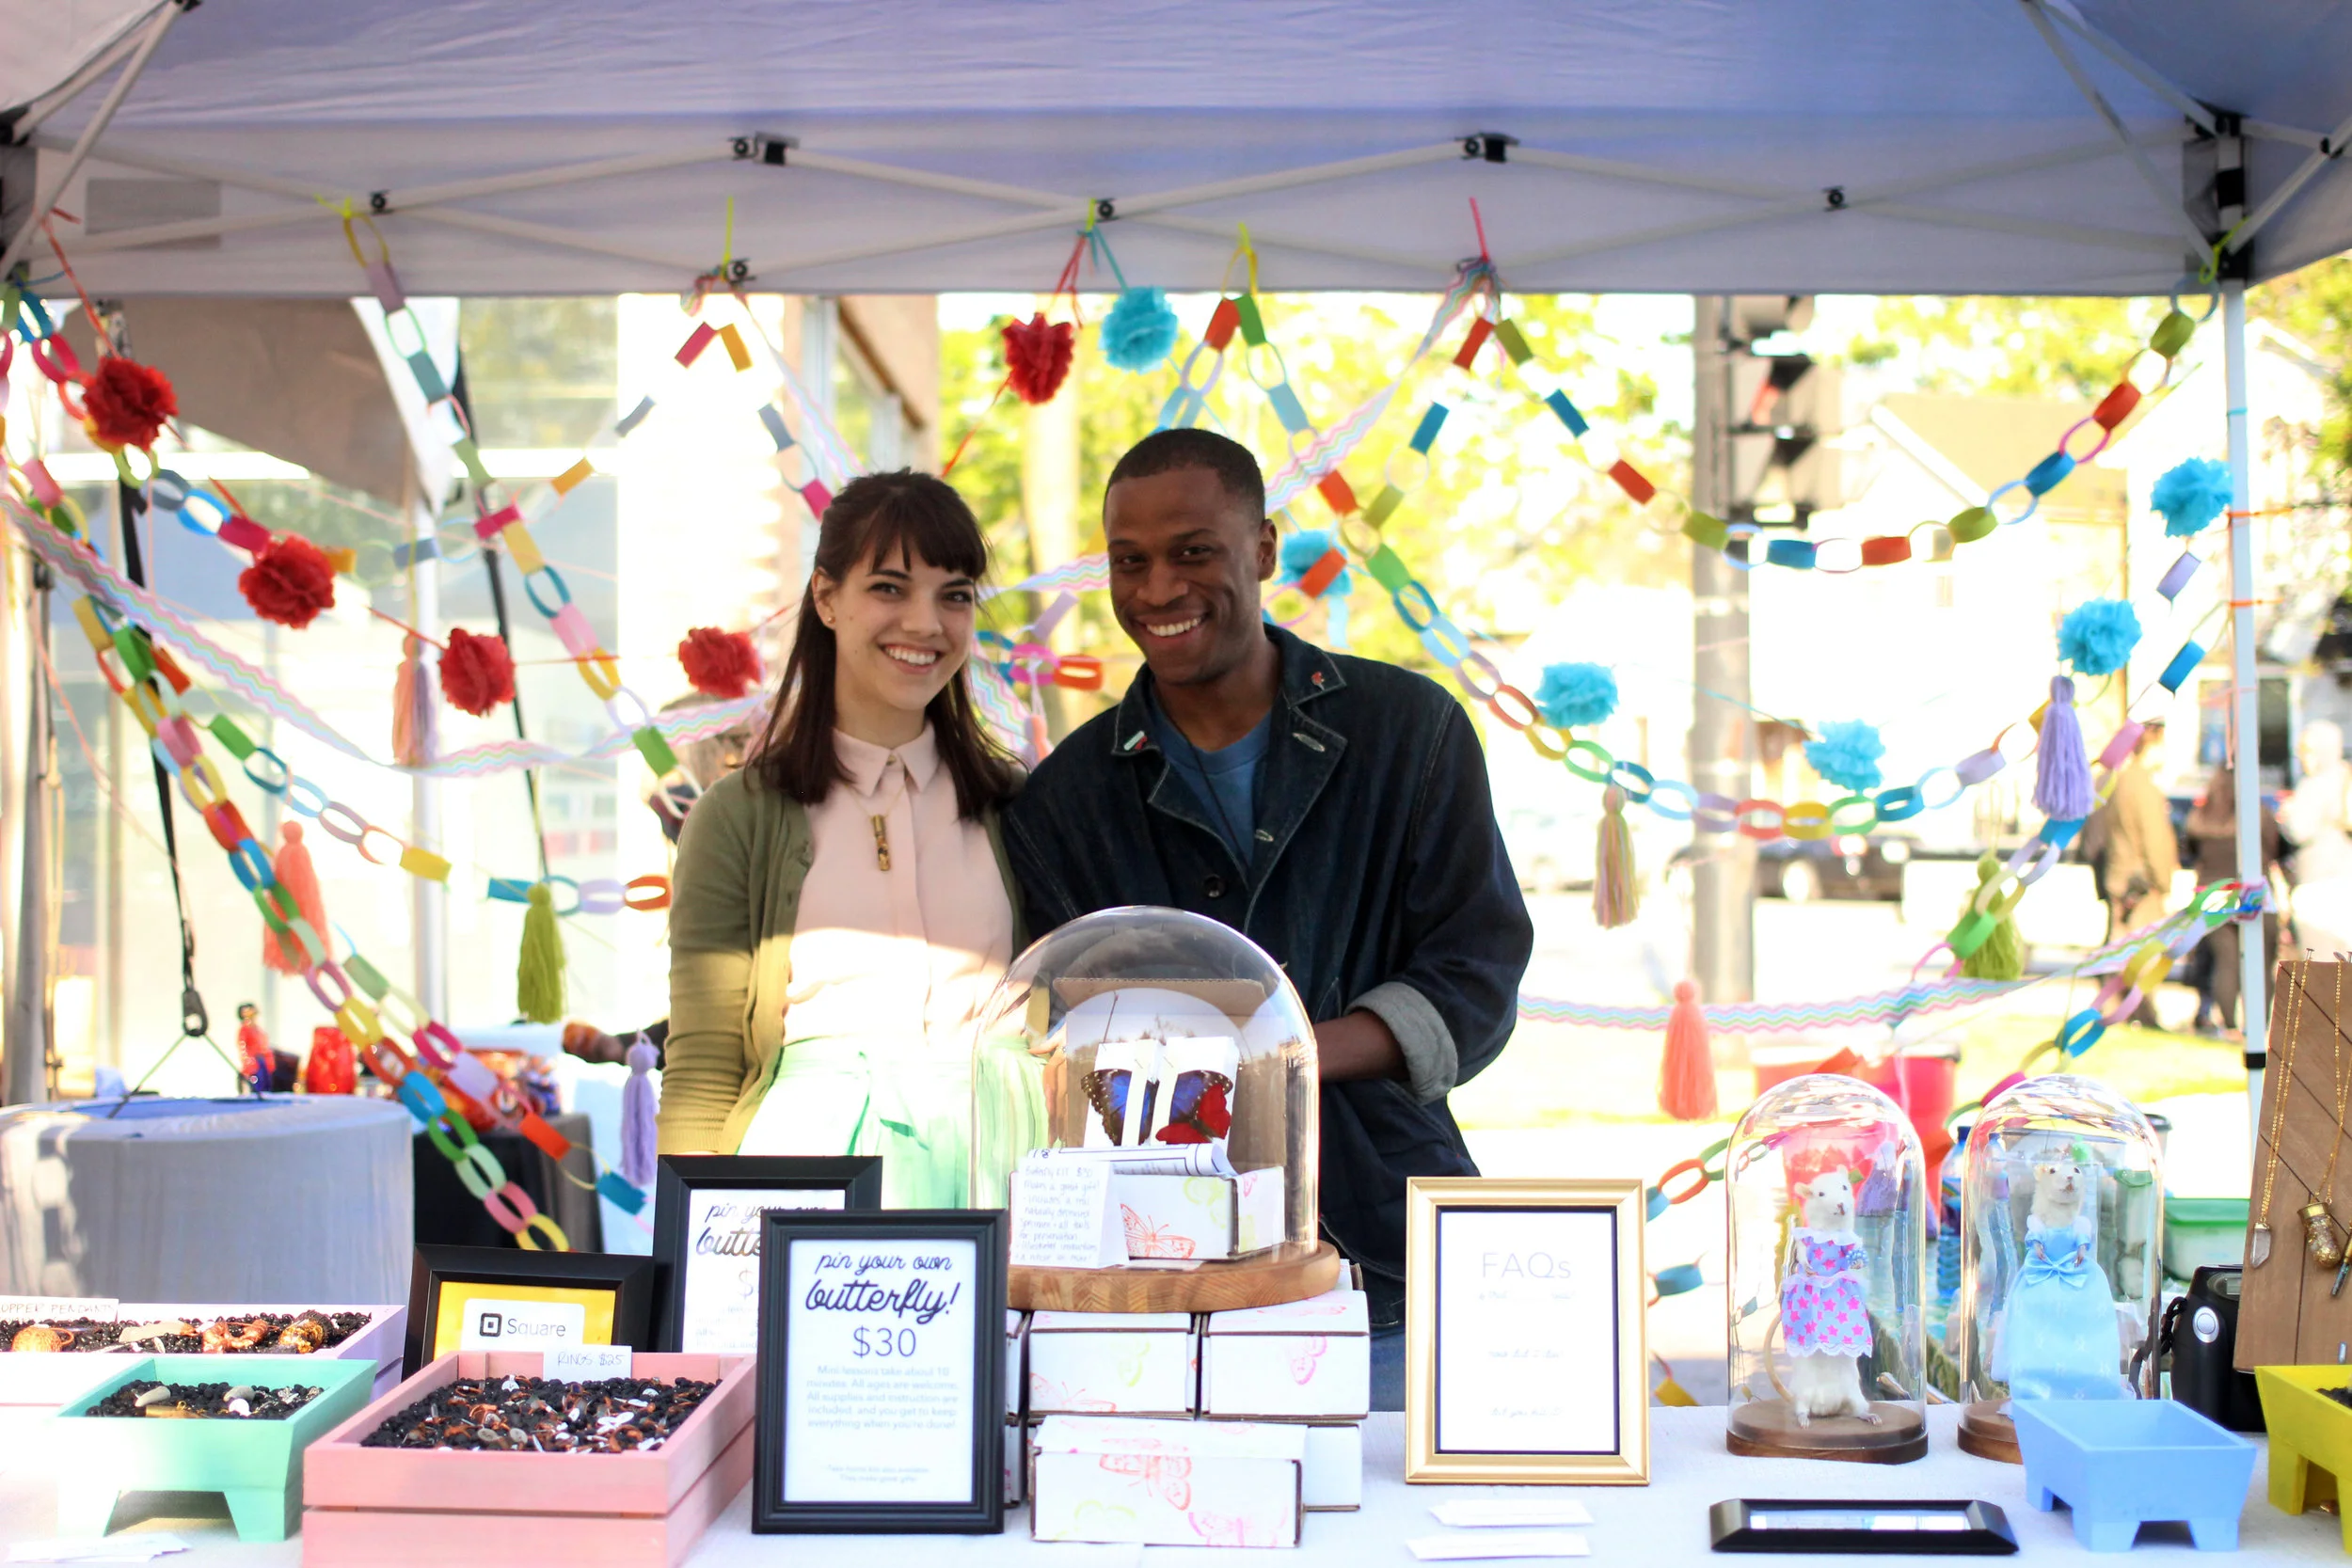
Me with Jason at Renegade, May 2017. He is a ray of sunshine and REALLY helped me come out of my shell as a seller that weekend.
The easiest way to connect with someone right off the bat is to ask them a question that's engaging. Jason has definitely helped instill better selling habits in me. Instead of just "How are you?" try asking someone how their day has been so far. If a shopper is wearing something that you genuinely think is cool, ask them where they got it - but only if you mean it, because empty compliments are very transparent and you don't want to fake making someone feel special. Ask them if they're having fun at the event and about the coolest thing they've seen so far. These are all good ice-breakers that will start a more meaningful conversation than the closed-ended "How are you/Doing well, how are you/Doing well" type of interaction.
Once the conversation starts, talk about your products as the customer looks at them. Do they show interest in a certain necklace? Show them the matching bracelet and tell them about where the stones were mined. Do they spend extra time looking at an art print? Tell them about what inspired you to make the painting in the first place.
If someone lingers for awhile on an item but then puts it back and starts to leave, quietly offer a slight discount and see if that helps! Oftentimes I'll also do a small discount if someone buys more than one item if the person is really nice. If they act like they're entitled to the discount or they try to haggle, I usually don't give them any price breaks. Remember that nice people who get slight discounts are more likely to tell their friends about you or become repeat customers, whereas entitled people are more likely to act entitled and unsupportive of your work whether they get a discount or not. It's up to you to decide if offering a discount will be beneficial.
Break It Down
When it's time to break down your booth or tent, allow lingering customers a few minutes to finish shopping without rushing them out. You never know who's been waiting all day to make a big purchase. If it's more than 15 minutes after the end of the event and you really need to leave, gently let your customer know that you are required to break down and ask them if there is anything you can start to wrap up for them.
If you're just on the overnight portion of a two- or more day event (meaning the event resumes the following day), remove your valuables, cover your tables, and zip up your tent if you have one. If you're just doing a one-day event or it's the last day of a multi-day event, follow the rest of these guidelines as you'd like.

Me in front of my booth (plus a dead bird and one of my sassy signs) at Renegade in September of 2017 - note the necklaces hanging in the background!
After the customers are gone, or if someone is still shopping through one section of my work, I'll start to break down another section. Use your plastic tubs and start to wrap up fragile items, then use your Tetris skills to pack them together in a stable way. I have two of plastic bead organizers that I use to store my necklaces, one per section, so they don't get tangled. Another suggestion I have seen is to use those plastic tabs for embroidery floss and wrap necklaces around them! I also store rings in the compartments. I noticed that sometimes the chains from my necklaces kind of move into other compartments, but they don't get tangled and this is still the best organizer I've ever purchased. I've tried drinking straws, rolling necklaces into fabric, etc. and none of those options work as well as this organizer.
Your knife and/or scissors will come in handy when taking down signs and any other hanging display items.
Use your tablecloth(s) to wrap large, bulky, or fragile items and pack those into your Rubbermaid tubs too. If you have a tent, pack your tubs into your wagon and move it out of the way so you can take your tent down. This is when it's helpful to have a friend or helper. One person can stay with the items and the other can take the wagon to the car, load the items in, and come back for the rest. It is a LOT easier to load out a little bit at a time than it is to try to drive your car into a fair or right up in front of the event space for loading out.
As you pack up, remember to stay organized. Is there a rack you use at home or in your studio to hang items? Pack it into your car last so you can unpack it first and hang your items back up as needed. Common sense is your friend here.
Whatever you do, remember that you're responsible for EVERYTHING you bring into an event. Throw away your trash and recycle any refuse that you can!
Customer Conversion
The last major thing I want to talk about is converting visitors to your booth or table into customers in the future. Not every shopper is going to have money or an ability to purchase your goods on the spot, but almost everyone has email! Put out a clipboard with an email sign-up sheet and encourage everyone who expresses even the slightest interest in your work to sign up on the list.

Talking to a customer at my Crampus Holiday Market (benefitting an organization called Chicago Period Project) in December of 2017. Photo by Chris Rios.
You can offer people a discount on the spot if they sign up, but my favorite way to encourage new email subscribers is to give an incentive of $25 off their first taxidermy class if they sign up for the list. Of course, most people reading this are not taxidermy teachers, but there are other things you can do in a similar vein. If you're a fiber artist, offer a free pattern to anyone who signs up. If you're a jeweler, offer exclusive early access to your new collection for subscribers. The idea is to offer something exclusive that they can only get by allowing electronic contact.
Follow up after your event by sending your new subscribers an email welcoming them to your list and thanking them for supporting your business. Make sure you include whatever it was that you promised in exchange for their sign-up! In the email, include links to your social media, web shop, and your website. If you don't have an email list, I like using Mailchimp. Mailchimp even gives you the option of sending a separate email to new subscribers which means after you import your new subscribers, you don't have to select their names individually.
The $25 discount on taxidermy sign-ups for new subscribers has gotten me lots of email sign-ups, but has translated directly into sign-ups for lessons (which means money!) and some product sales as well. Offering a discount is a win-win for everyone involved.
Do you have any other words of wisdom for participants in handmade markets and other craft shows? Let me know in the comments!