
I love my cat. I do not love my cat's claws. For months and months, I have tried everything - citrus, trimming her nails, scratching posts, a spray bottle - and you name it, it doesn't work. She LOVES clawing things, especially in the middle of the night. It left my couch, armchairs, and dining chairs in shreds and loopholes.
Now, I'm going to keep trimming her claws every week and a half or so but she can keep doing whatever she wants because I finally found a way to fix it - and the solution is a cathartic and repetitive motion, so I can't even get mad.

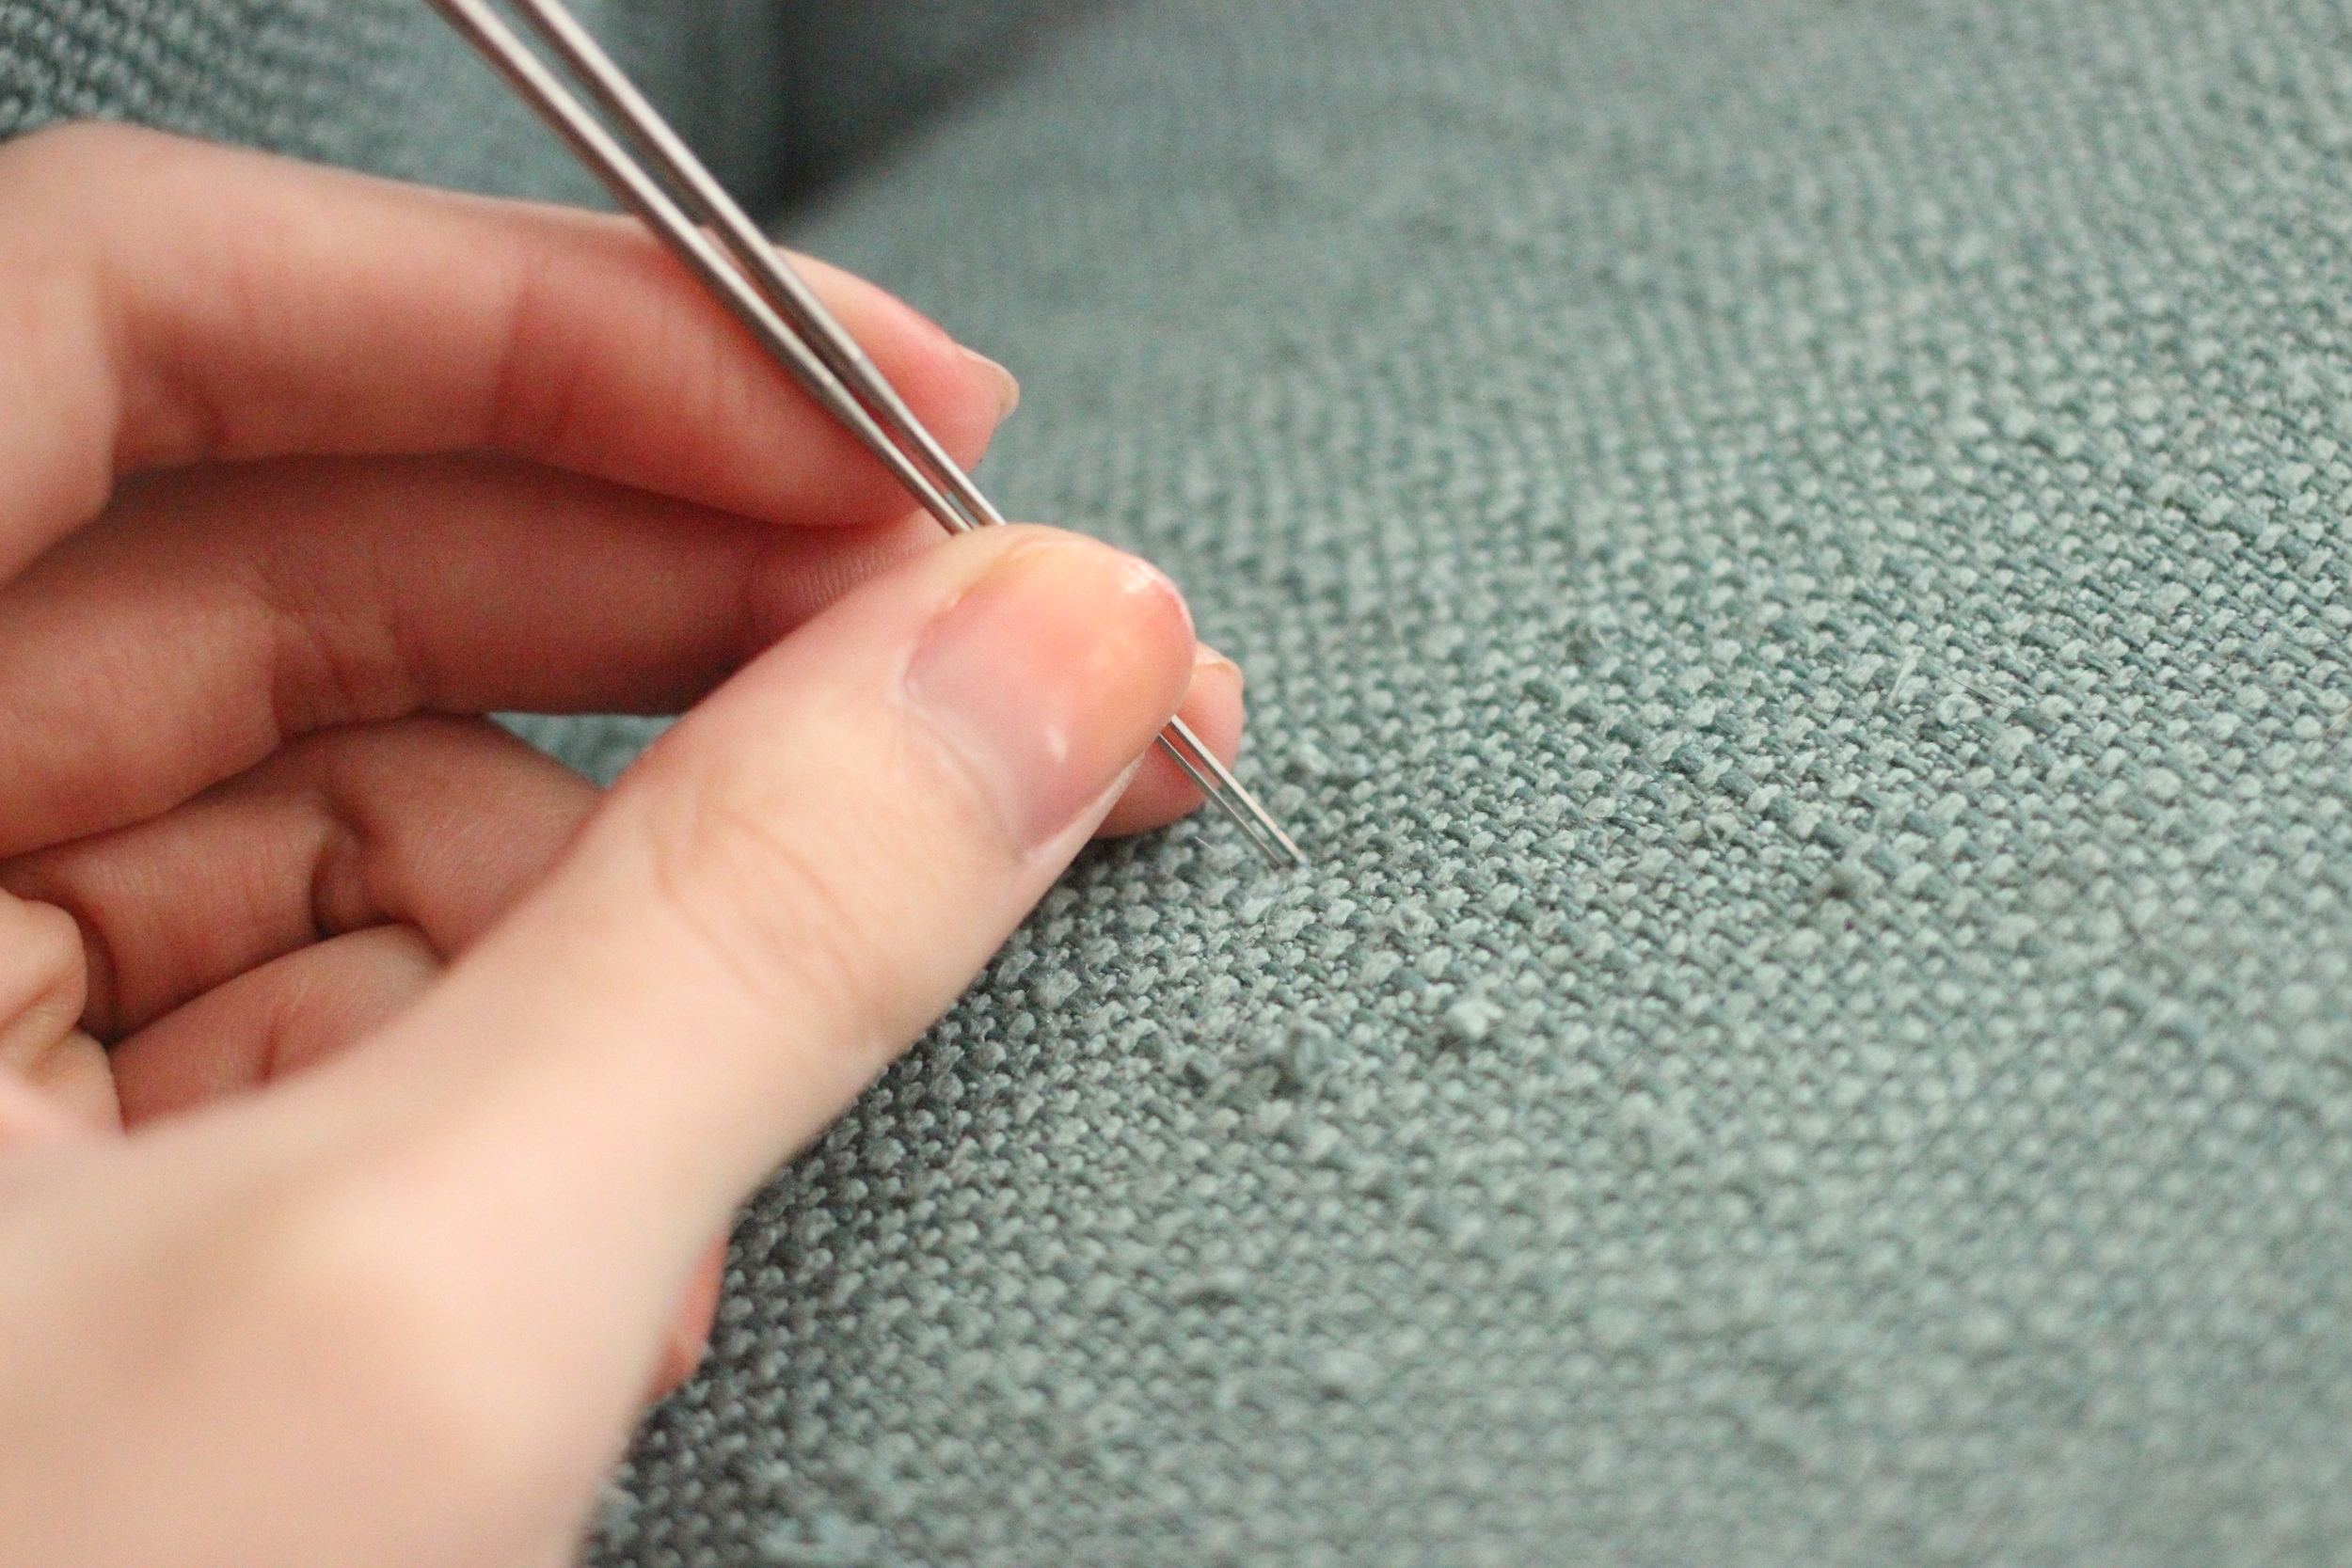
Pictured above is the problem - ridiculous claw marks and snags all over one of my dining chairs. Pictured below is the solution!

Buy yourself a set of size 38 star needles from a needle felting supplier like Jo-Ann Fabrics or Living Felt. Two should do the trick, but if you only have one for some reason it'll just take you a little bit longer.
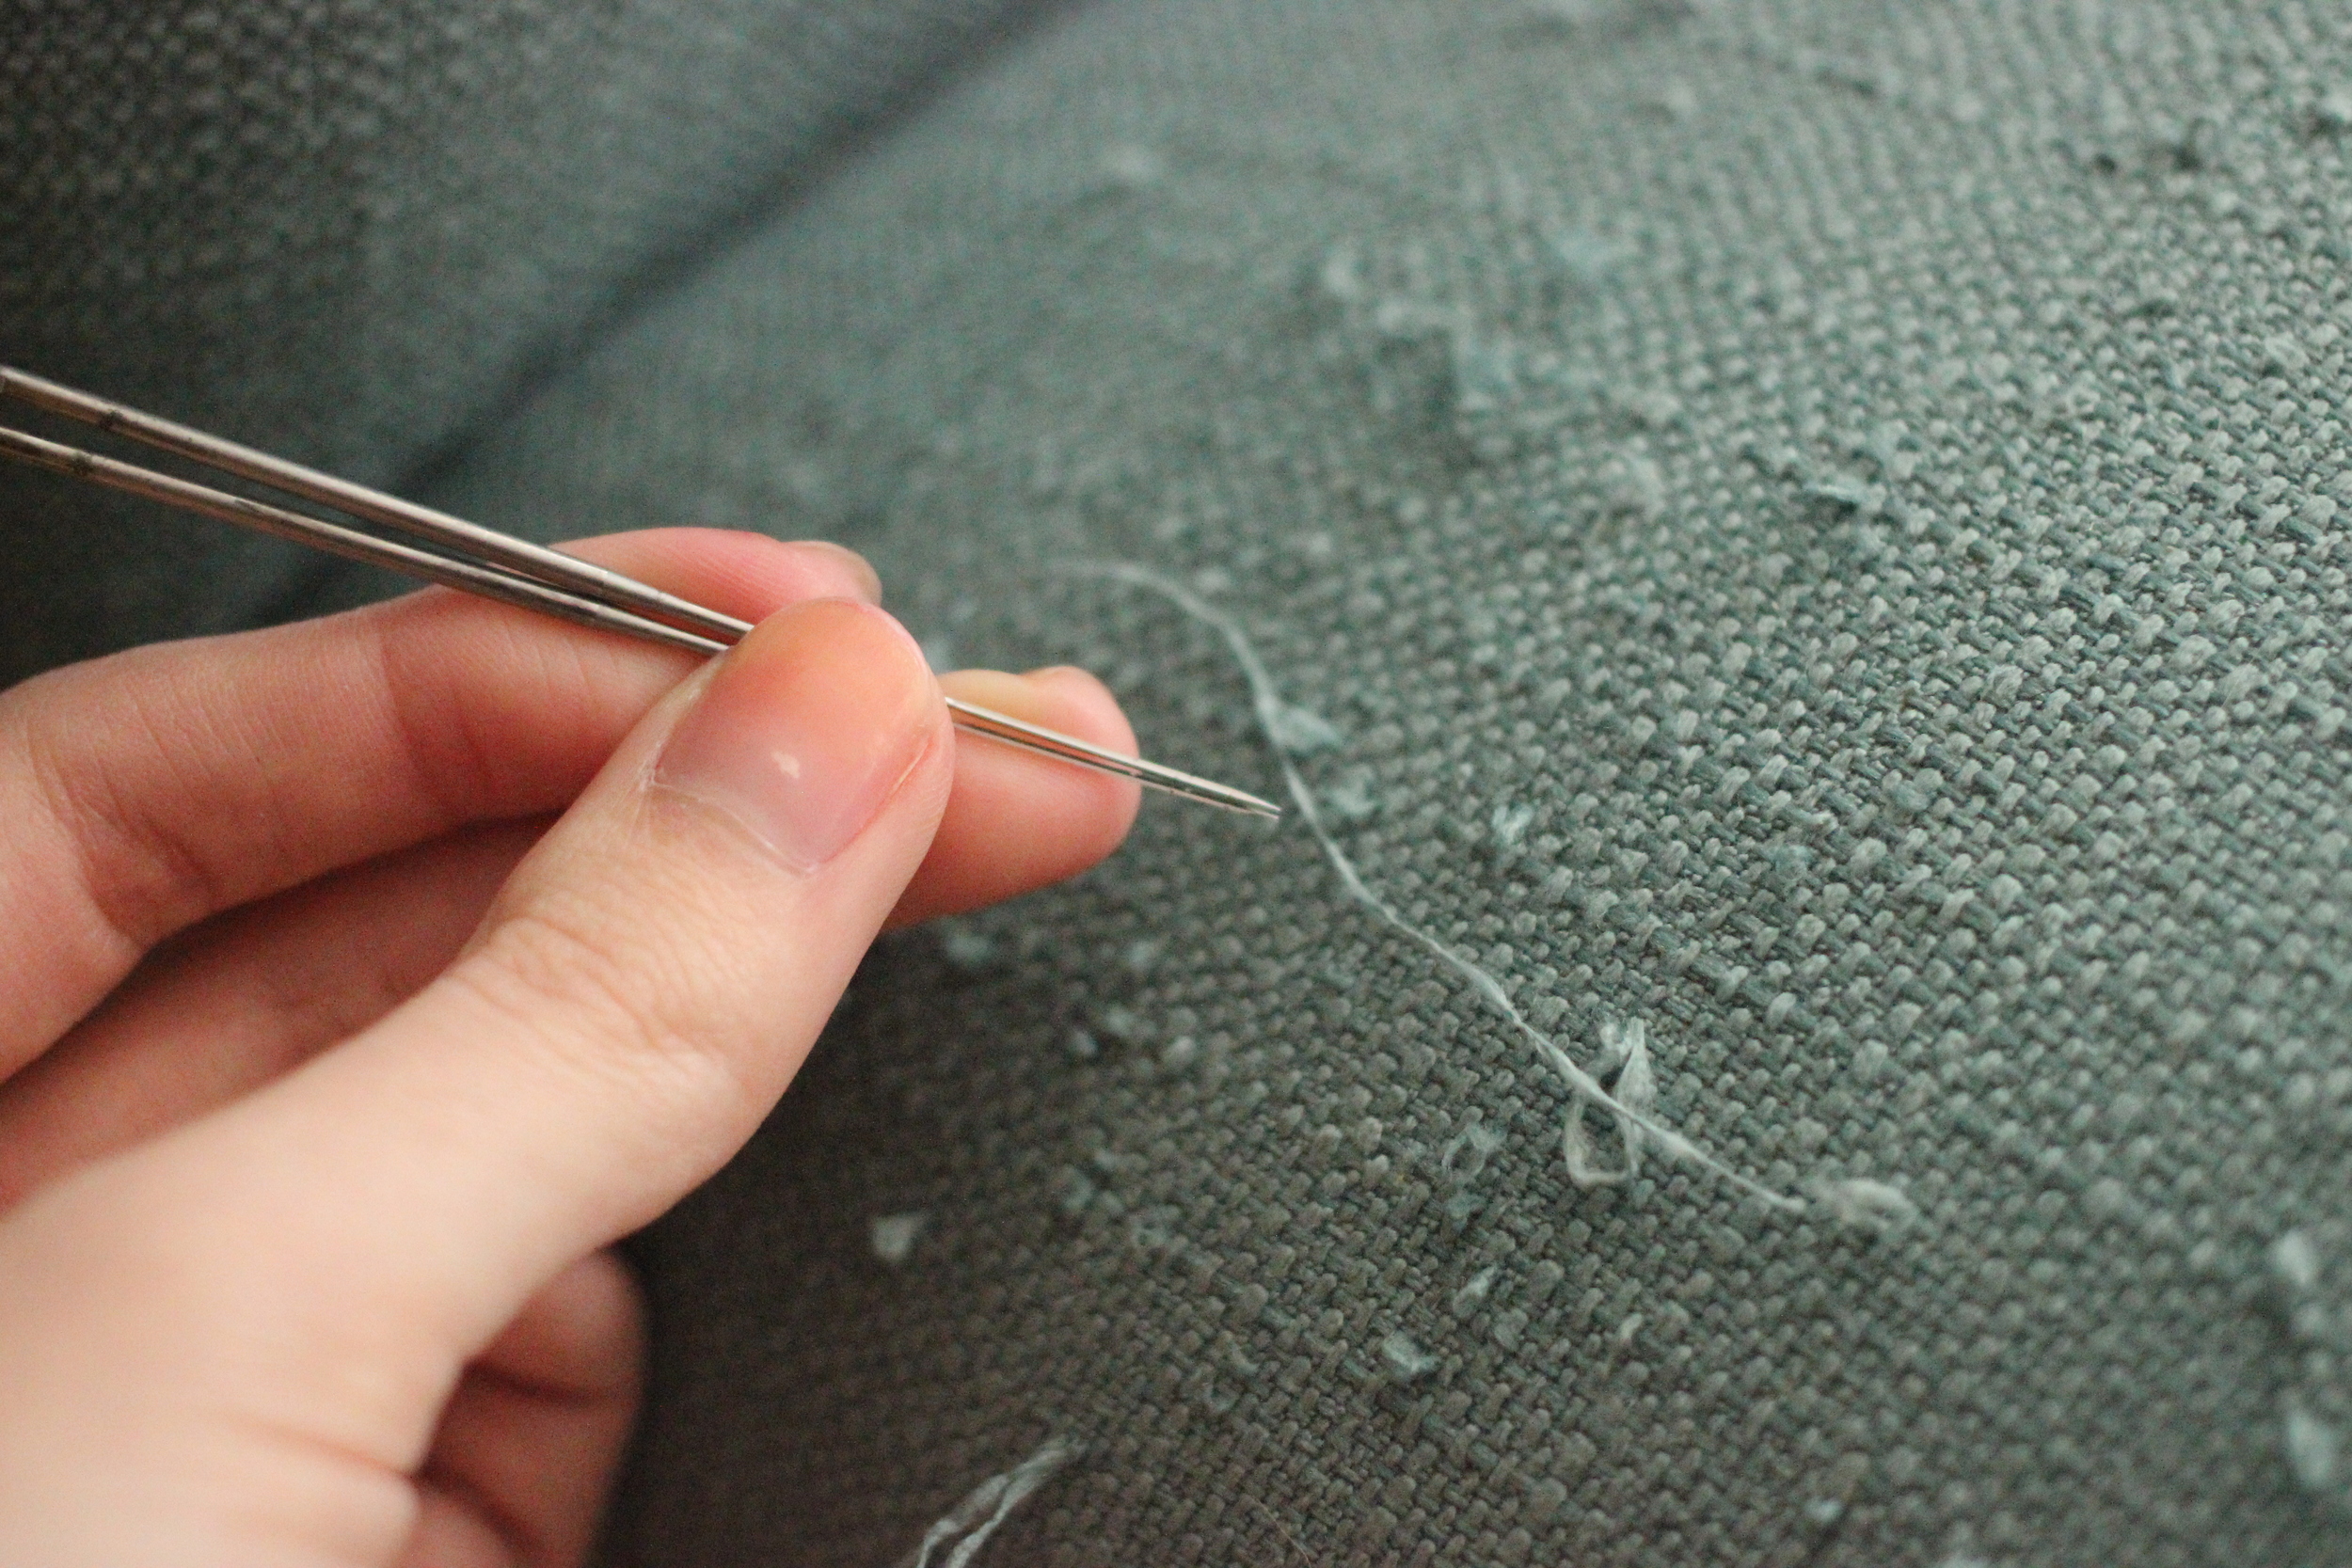
Forgive my photos, because I am not actually left-handed. Holding the needles in your dominant hand, you will essentially just poke them into the snagged area repeatedly until the snags disappear. I took a video that shows the whole process a little better.
It's really that easy! Here is a photo of the chair after I was finished.

Remember to use needle-felting needles and not regular needles. Needles made for felting have tiny notches in them, which grab onto the fibers and help tuck them in. For some reason I can't find a macro photograph anywhere online, but trust this advice. I also can't stress enough - BE CAREFUL! These needles are MUCH sharper than regular needles or pins and the tip is star-shaped which means each one is covered in barbs.
This video is part of my goal to make something every day this year. It's my very first tutorial video so I hope it was helpful. Please let me know if you have any questions!